LITTLE BEAR PEAK
 |
 |
 |
 |
 |
 |
 |
 |
 |
 |
 |
 |
 |
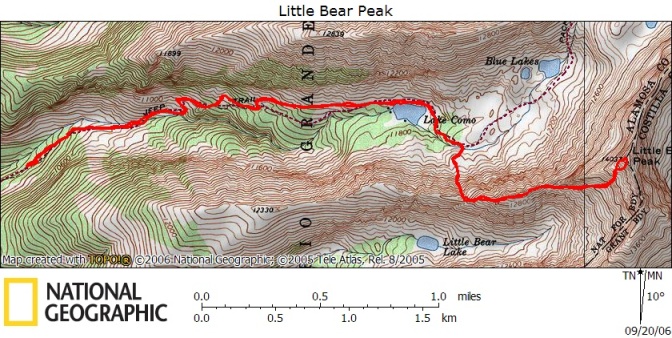
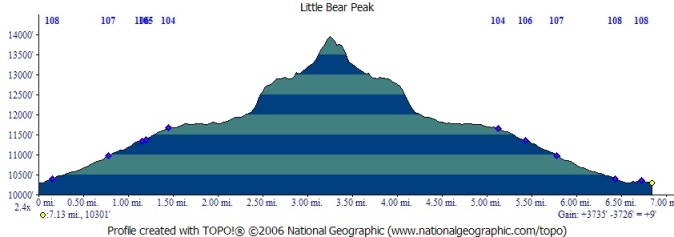
Little Bear Peak is one of Colorado's most difficult and deadliest fourteeners. Jason and I had been putting this one off for a while trying to wait for the perfect conditions. We finally got our chance September 19, 2006. We left Woodland Park at 2:15. We were able to drive to nearly 10,500 feet on the Lake Como Road in my Jeep. This was significantly better than the Blanca and Ellingwood Trip. This road is impassable for all but the most serious 4X4ers, see my description at the bottom of this page. We began our hike at 5:30 with almost no moon, so out came the headlamps. The beginning of the hike is on the 4X4 road so it is easy to follow.
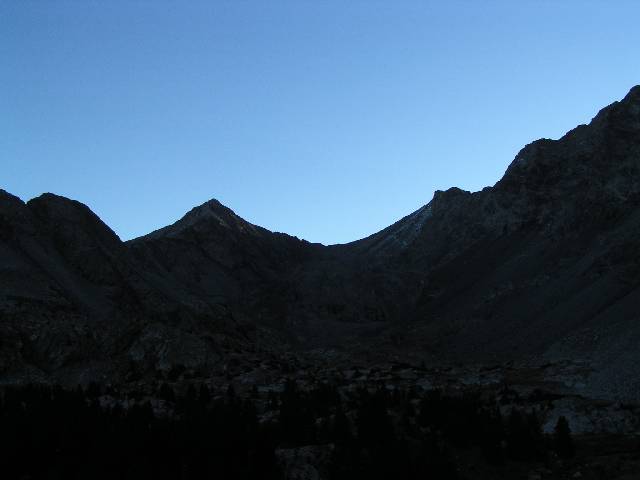
After passing Lake Como we found the beginning of the trail that leads up to the ridge. Just as we did the sun was beginning to hit Ellingwood Point.
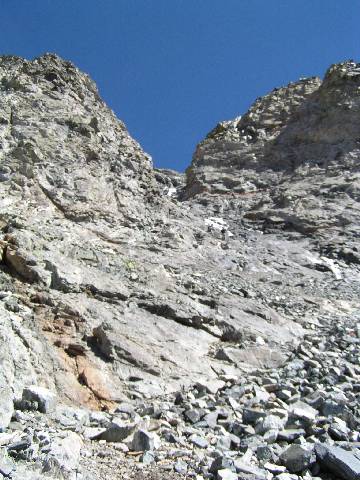
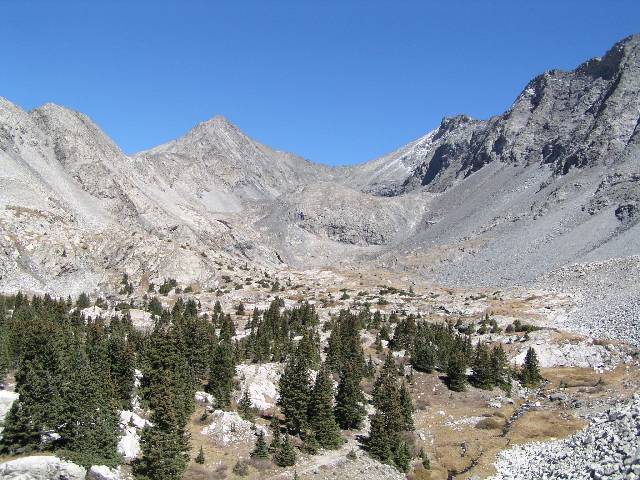
This photo was taken later in the day, but shows the couloir that must be used to access the ridge. It is the deepest couloir on the just right of center of this photo.
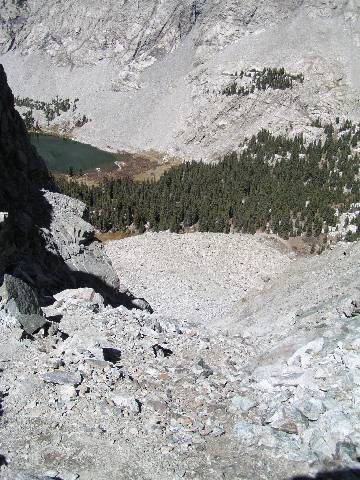
This is a view looking back down the ridge couloir. It's a steep loose hike, but the difficulty never exceeds class 2.
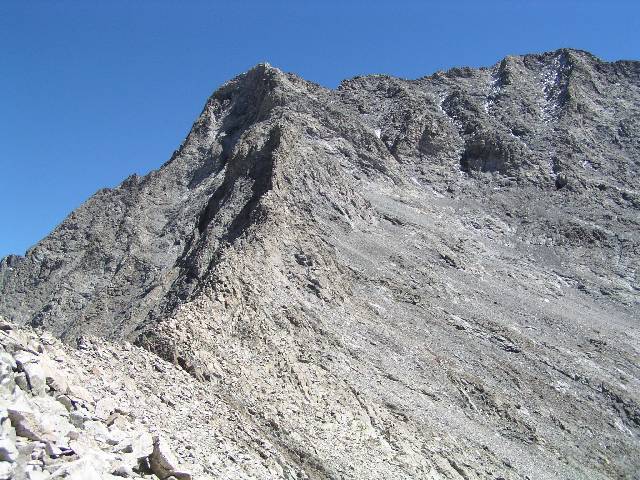
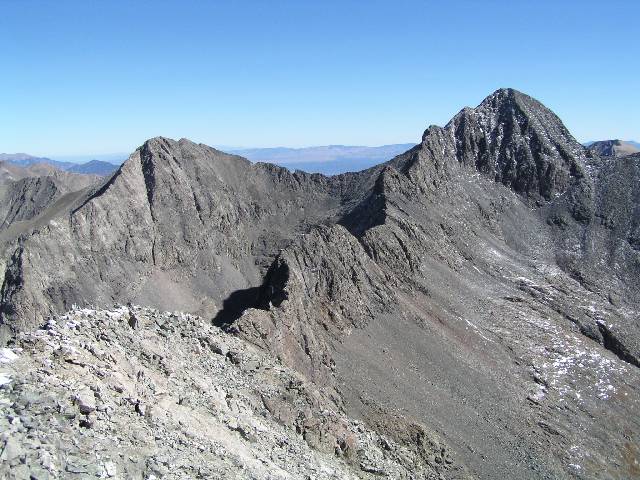
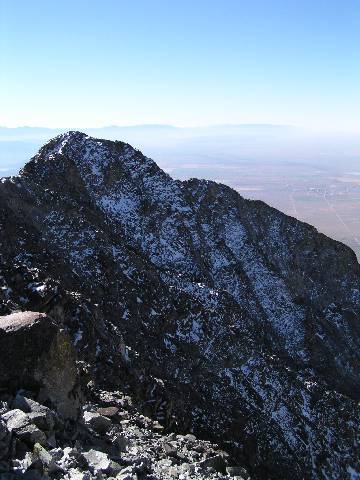
After reaching the ridge the hike then heads West towards Little Bear staying just off to the right of the ridgeline. It's not long before the rest of the route becomes visible. The summit is actually the point on the left in the above photo. The crux of the hike is visible. It's the deep couloir below and right of the summit. This couloir is known as the "hourglass" or as the "bowling alley". The first name is based on the shape, but the second indicates the danger this couloir hides. Any rock that falls above comes bowling through the couloir at deadly speeds.
When you reach the base of the couloir, it's decision time. If anything looks questionable at this point, now is the time to turn back. A true mountaineer is not made by the number of successful summits, but by the summits on which he wisely chose to turn back.
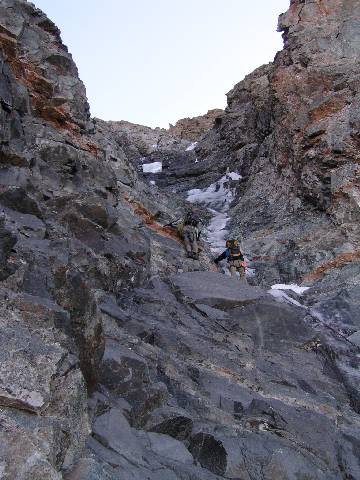
This photo shows two hikers (Alex and Bruce, both Anesthesiologists from Denver) we caught up with in the hourglass trying to navigate the narrowest portion. Unfortunately some ice had formed already this year so we were not able to take the easiest route. We wound up staying left and doing a very short (15 feet or so) class 5 pitch to avoid the ice.

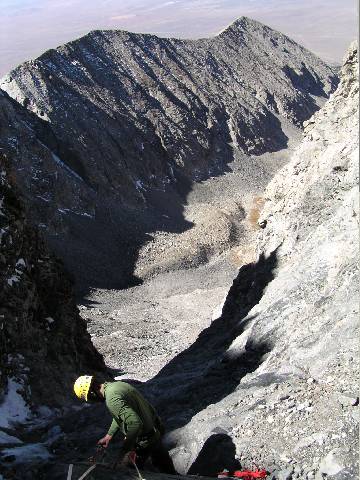
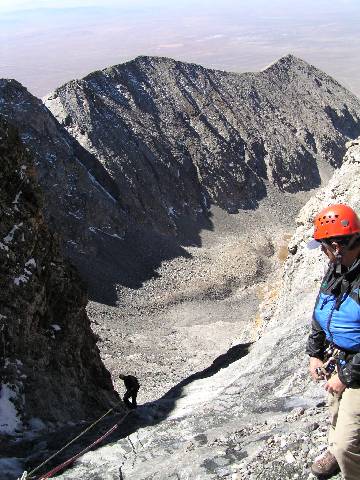
Jason and I continued up out of the couloir very carefully making sure not to knock any rocks down on our friends below. As you can see in the photo (look closely for the red helmet) the rocks would gain significant speed before reaching the couloir.
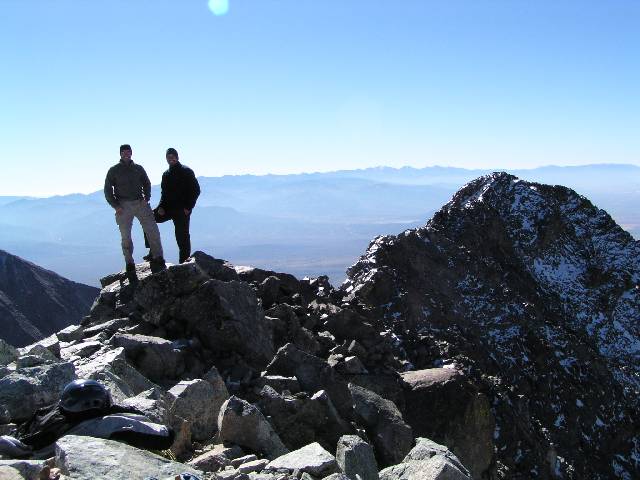
It took us about an hour and a half after reaching the ridge to make the summit. Most of that time was spent in the hourglass and above due to having to hike so carefully. (Photo take by "Bruce, one of the 'anesthesiologists from Denver'")
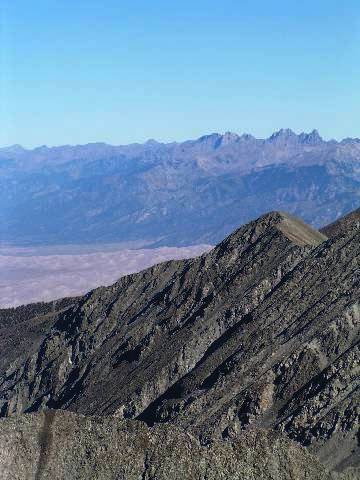
Many other fourteeners are visible from this summit. This is the Crestone Group with the Sand Dunes in the foreground.
Ellingwood Point and Blanca Peak
Mount Lindsey
Somewhere out there is Culebra, but I'm not sure where and smoke from some California fires made it hard to see.
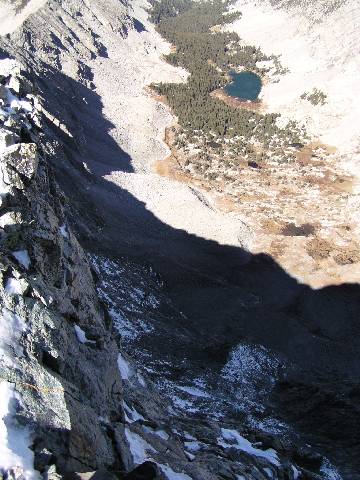
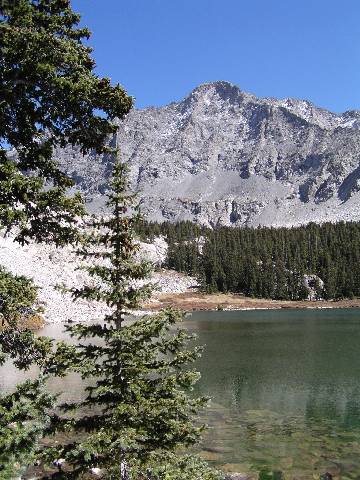
The view of Lake Como from the summit gives you great perspective on just how high you've come in a rather short distance.
We chose to rappel the couloir. More for fun than necessity. The rocks used for anchoring were buried in old webbing, but because the ropes were frozen into the ice I was unable to clean up much of the mess.
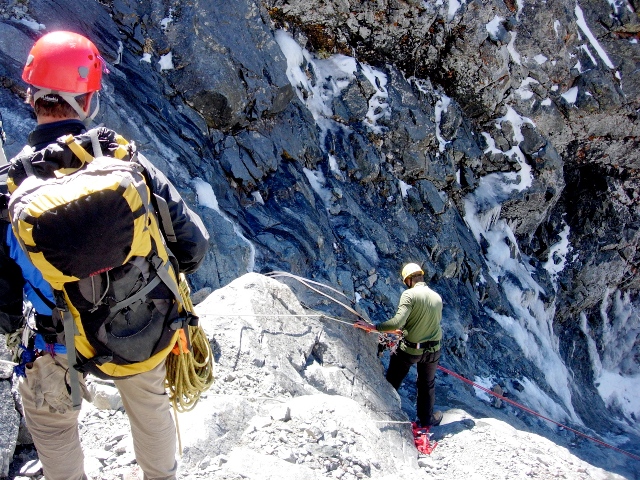
There were three ropes already in place, one looked brand new. The other two looked like they'd seen a lot of abuse. (Photo courtesy of "Bruce the Anesthesiologist", you can call him Bruce the Great for short). :)
Before hiking I had tried to research how much rope was necessary to do this rappel and found answers ranging from 30 feet to 200 feet. If you are wondering the same here are my suggestions: a 60 meter rope will get you past the most difficult class 4 section, two 60 meter ropes will get you to class 3 terrain, and two 70 meter ropes will get you down to class 2 terrain.
Once clear of the hourglass the trip down is pretty easy. So we took some time and enjoyed the perfect day we were having.
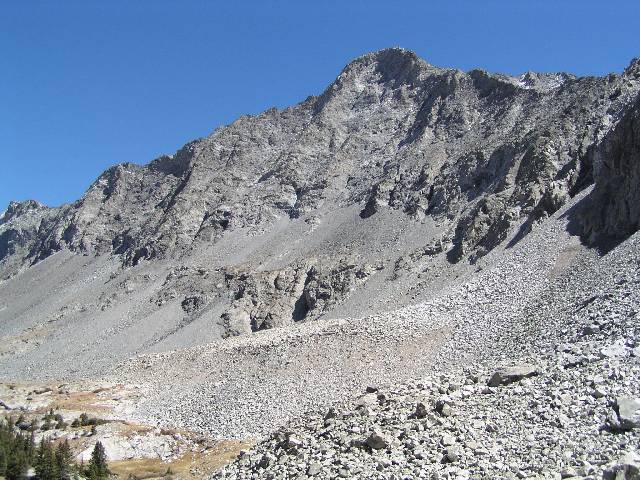
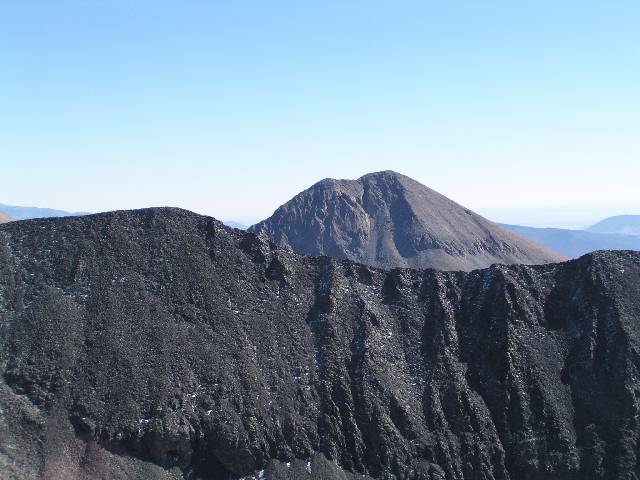
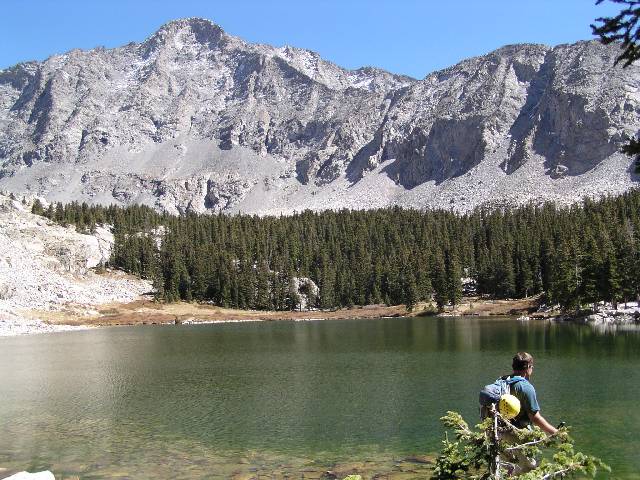
Looking back on Little Bear gives you a great sense of accomplishment. It's North Face is quite daunting.
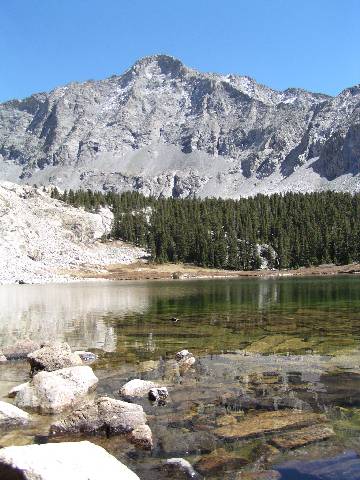
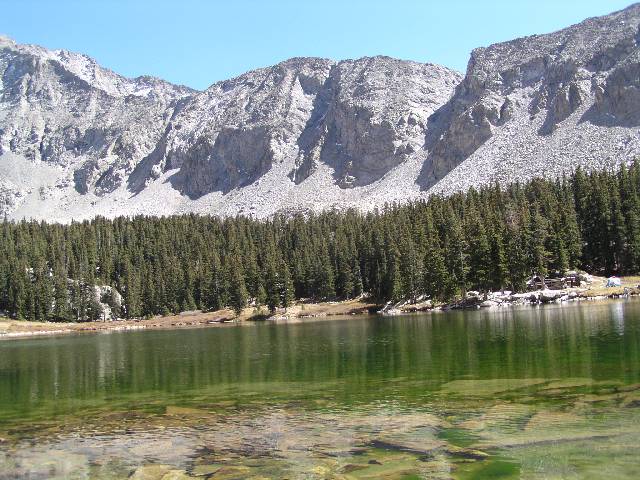
Lake Como makes a fantastic spot to stop and relax for a bit.
Lake Como Road
As an addition to this report I just wanted to add some photos of the Lake Como Road. This road is brutal.There are three major obstacles on this road known as Jaws 1, Jaws 2, and Jaws 3. I have dubbed a couple more spots Jaws 4 and Jaws 5 for the photos below.
Early on the road just becomes a rocky bouncy ride, however it gets rougher every turn and then comes the fun.
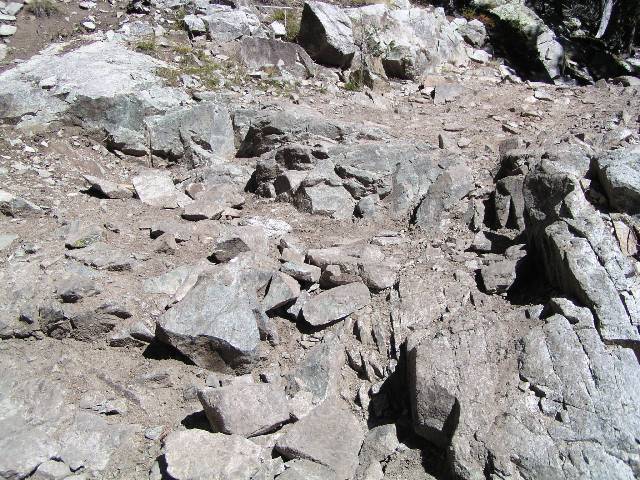
Jaws 1 is a huge rock rib that crosses the road. A lot of vehicle parts and oil stains can be found around Jaws 1.
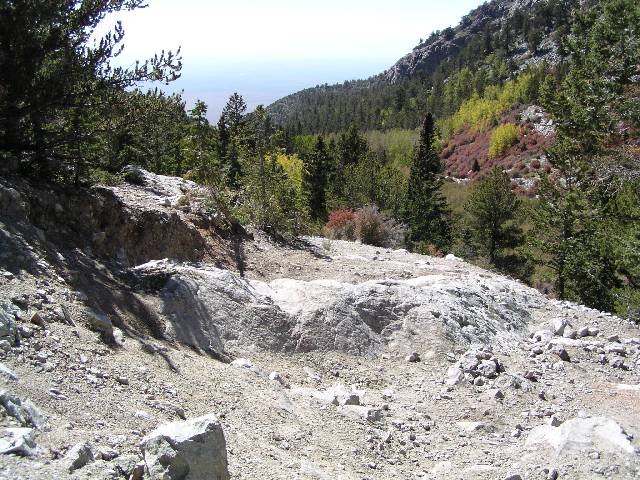
Looking back down on Jaws 1. It's hard to see in the photo how big this rib is.
Jaws 2 has a plaque next to it memorializing a driver killed attempting this obstacle.
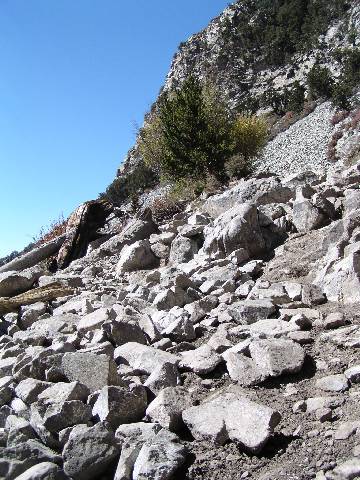
Next in line is Jaws 4 (I know its out of order, but 3 already was named). I can't believe this hasn't been labeled before, but I'm not into serious 4X4.

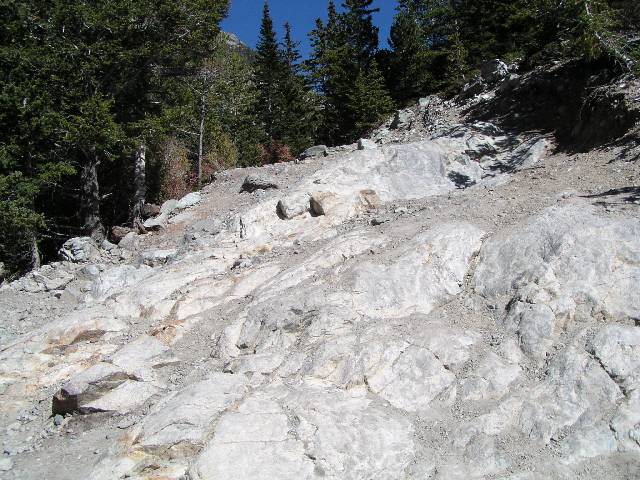
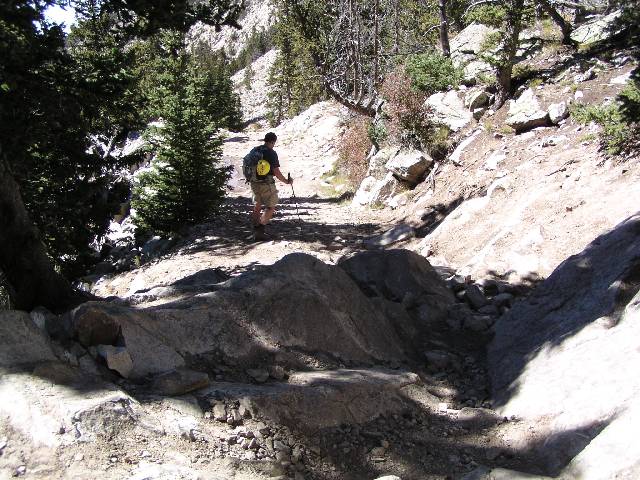
I'll call this Jaws 3a. There is a road that now by passes this piece of Jaws 3.
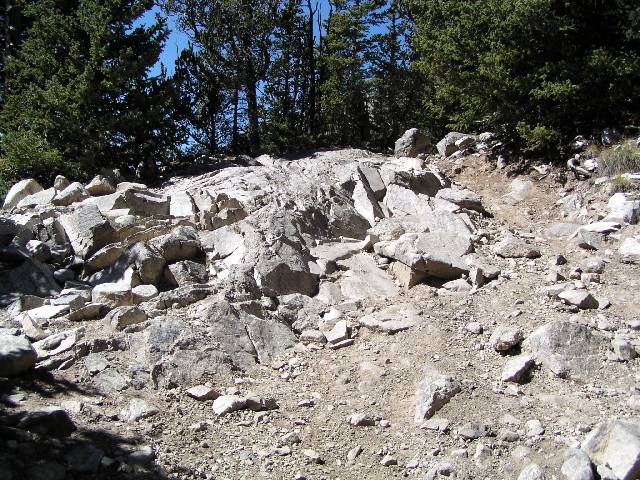
This would then be Jaws 3b which can't be by passed but is a part of the same rock protrusion.
Finally, Jaws 5. Not much compared to the others, but the oil stains tell me it still gives people some trouble.
Download a Topo file of all the Centennial Peak routes I have climbed here
You are welcome to contact me with any questions regarding questions about, or problems with, this website. Just send me an e-mail at josh_friesema@hotmail.com.