Traverse from Maroon Peak to North Maroon
 |
 |
 |
 |
 |
 |
 |
 |
 |
 |
 |
 |
 |
I guess I'd be crazy to start a description like this without a warning of some sort. So here it is. The traverse between Maroon Peak and North Maroon is deadly and should only be attempted by experience climbers with appropriate training and equipment. The route described below is not an authoritative description. I have done this route once, and in one direction. I highly recommend seeking multiple sources of information before doing this traverse.
OK now that that is out of the way. I did this traverse on August 13th of 2007, if you are reading this report years after this odds are the route has changed a lot. That's how bad the rock is on this traverse.
We did the traverse from Maroon Peak to North Maroon. We had read that this direction did not require the use of ropes, however if I were to do this traverse again I would bring ropes and equipment and probably go the other direction.
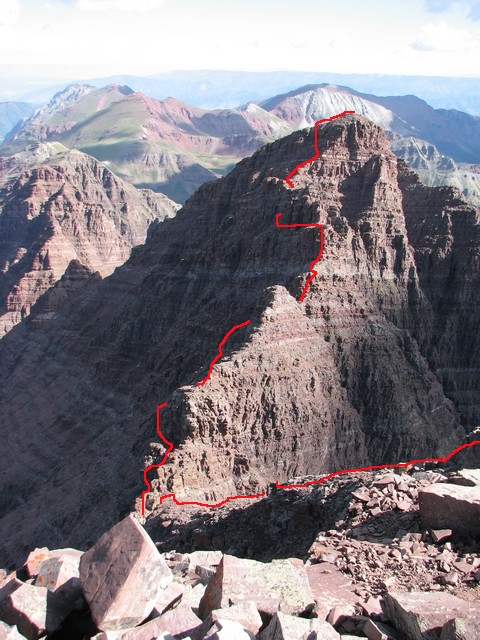
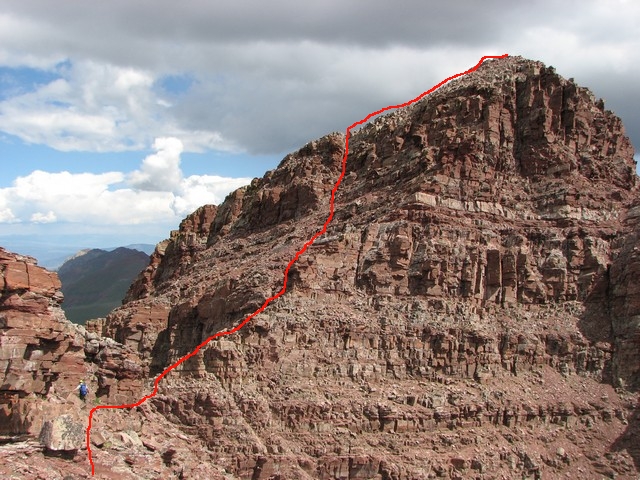
To begin the traverse from Maroon start by looking at the ridge closely. Scope out difficulties, progress indicators, and possible routes. Once on the ridge it is hard to get perspective on the remaining route. The above photo shows an approximation of the route we traveled.
Once you have a plan begin by hiking to the North East edge of the summit and look for where the trail descends from there. The right side of this requires the least downclimbing.
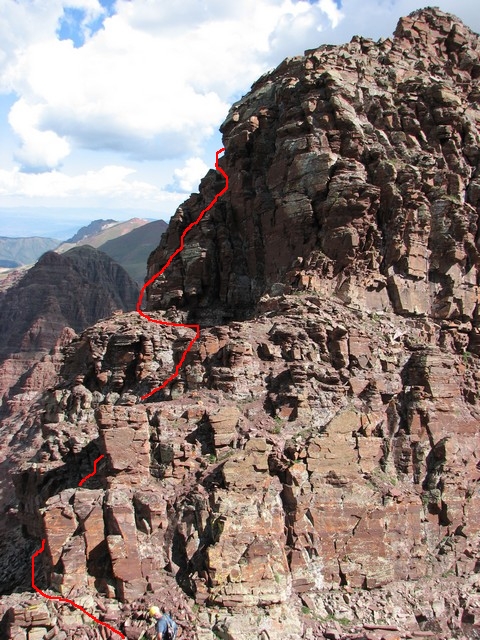
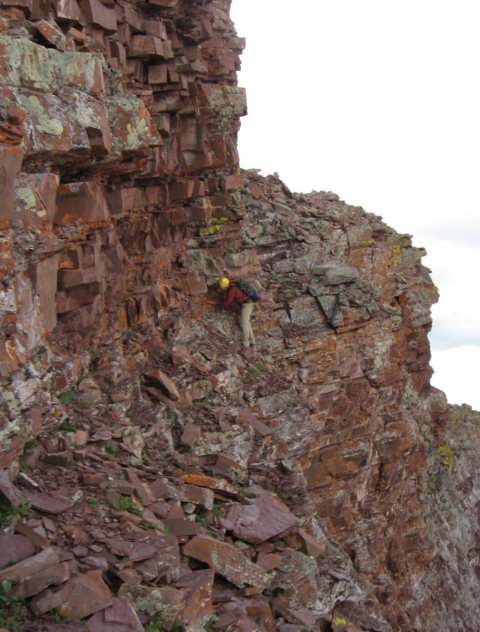
Then begin following the ridge down, but stay on the right side. Soon you will come to a step that takes some down climbing. The right side is easiest. Follow the ridge a ways farther. The next step is easiest on the left side. Look carefully for the route that works best for you. (You can also descend a gulley on the left side of the ridge here to avoid this step but it is loose, we chose not to do that). The above photo shows the second step and the summit is on the upper right. The first step to descend is not really visible.
The last difficulty of the descent to the saddle is the last 40 feet drops straight off into the saddle. (If you had taken the gulley mentioned earlier you skip this downclimb). This downclimb is class 4 and is just to the left of the drop-off.
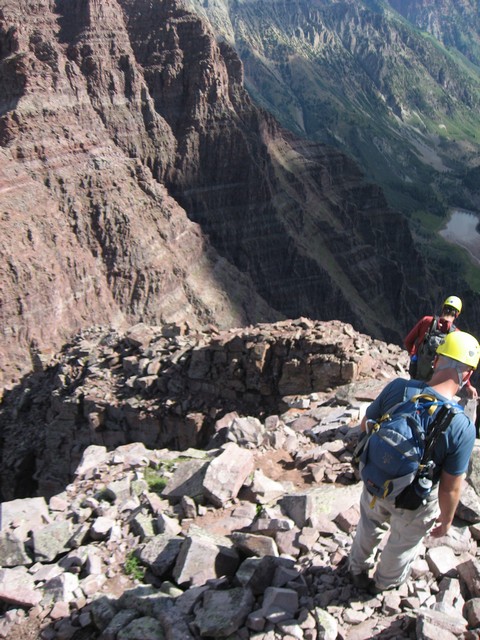
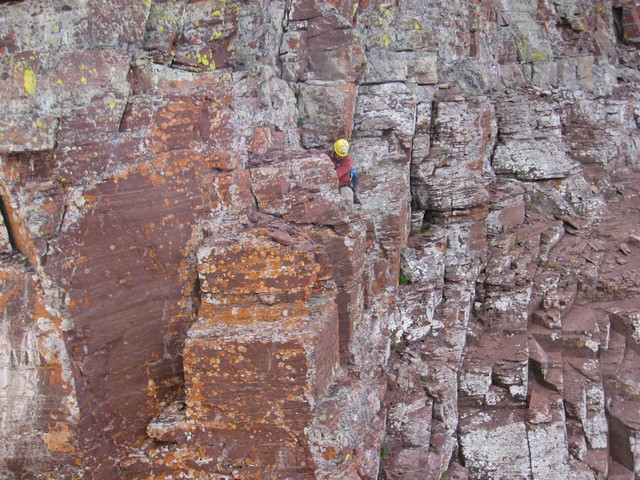
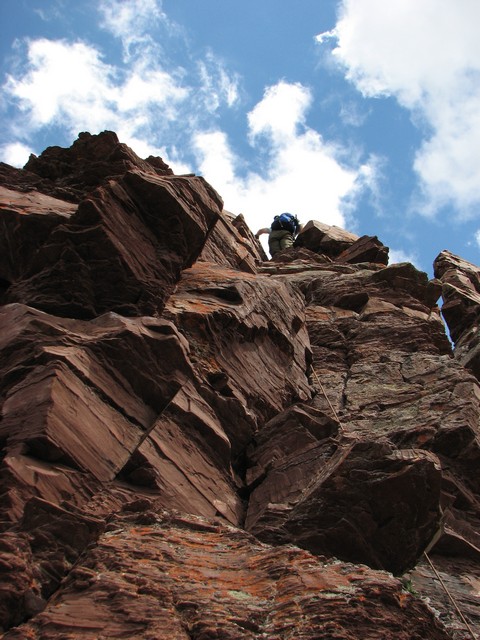
There are two cruxes on the ascent up to North Maroon. The first one is immediately after the saddle. This photo was taken before dropping into the saddle and shows the route. This section is well cairned. Ascend each half of this one at a time though as it is easy to knock rocks loose and someone below you would not have time or space to get out of the way.
After passing the crux stay on the West (left) side of the ridge and follow a well cairned route. There is only a little climbing involved here and this will take you to a saddle just below the second and most difficult crux of the traverse.
From the saddle do an ascending traverse to the right to reach the base of the second crux.
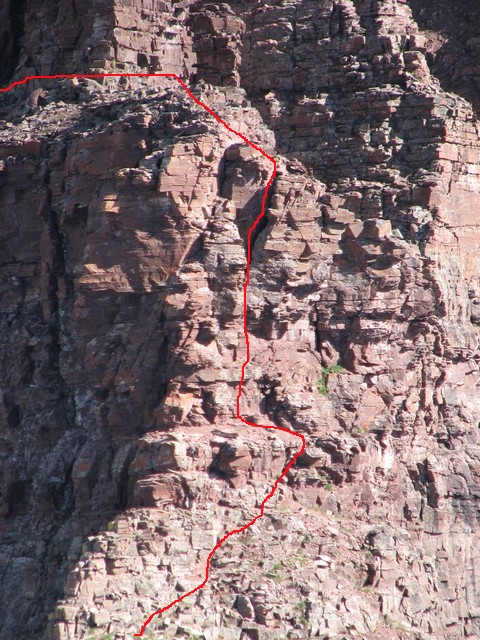
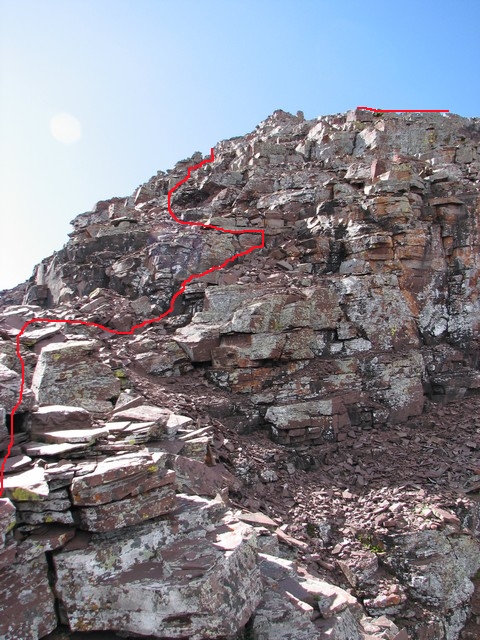
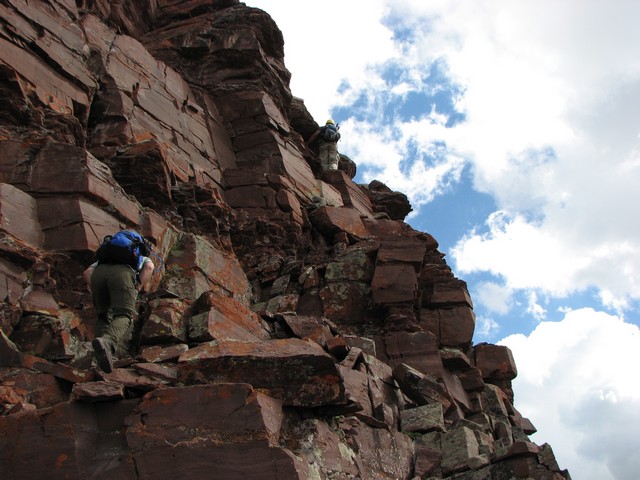
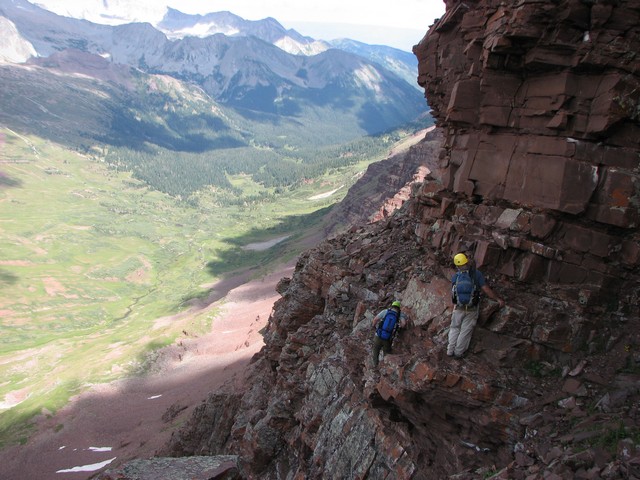
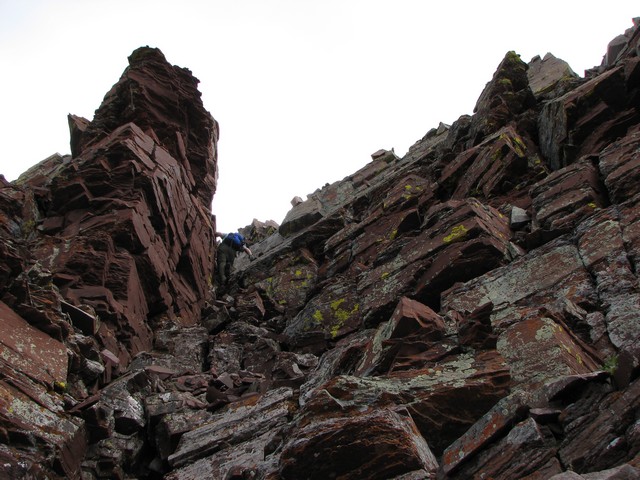
The spot on the photo where the route jogs left is the base of the second crux. This crux has two halves as well. The first half is pictured above. We skipped the second half. I'll get into that later. Anyway, this is where roping up would be a good idea. Other people claim there is a good route to the right that keeps this class 4. We couldn't find it, so we took the crux head on.
This section is short, but does require some low 5th class moves and is exposed. The holds are solid and plentiful so we were comfortable with it, but someone without 5th class climbing experience will find this quite scary. There was another party here that had roped up and was downclimbing this section. They had already been on the ridge for an hour and a half. At their rate of progress I bet it took another 2 hours for them to get to Maroon Peak. After we got above the first half we followed a ledge to the left (as seen in the prior photo route). The standard route continues up and follows the ridge. This would probably have taken a little longer but would have been safer and better.
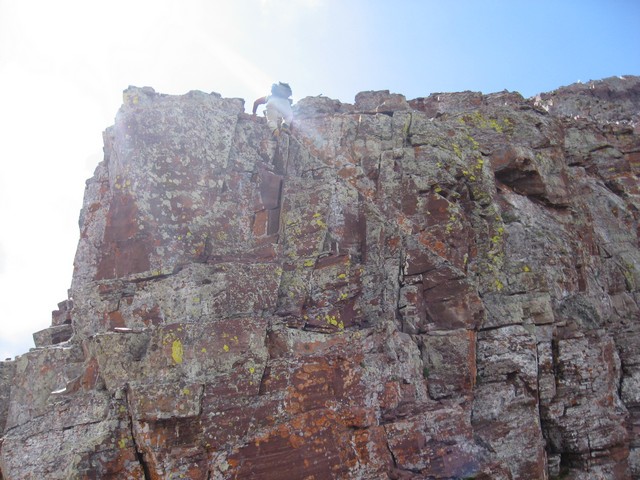
The route we took was great and much easier except for this one short section that the ledge narrows down to almost nothing and is overhanging a 40 foot drop. There were solid holds and taking our time it wasn't that bad, but the risk was very high. Anyway, this took us around to a saddle skipping one of the ridge towers entirely.
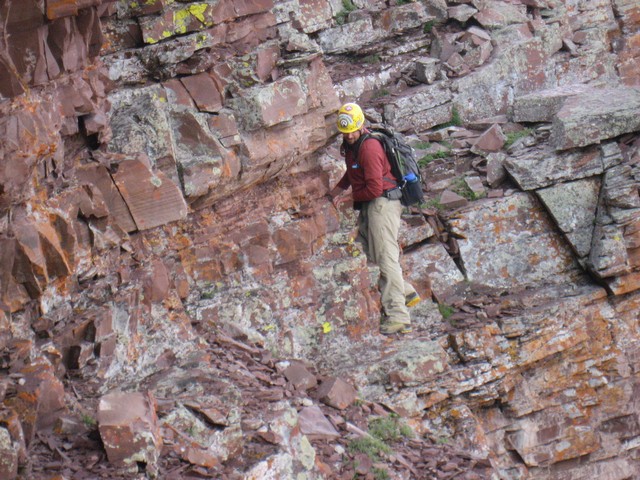
This was by far the airiest part of the traverse for us.
We progressed through here very slowly and very carefully checking all holds before using them.
Once back on the ridge at the saddle we could see the rest of the route was much easier than what we had already crossed. This part went fairly quick. Following tips from the group we had met earlier on the ridge we stayed left rather than take the ridge proper. This worked out well.
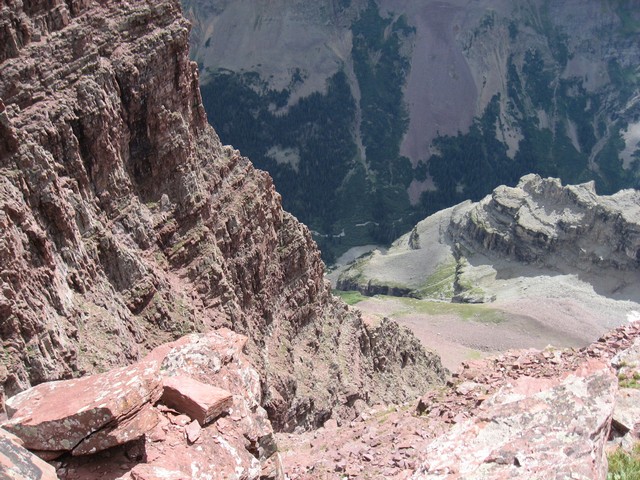
Also from the ridge you can see the cliffy base of Maroon Peak.
The last gulley up to the ridge was some easly scrambling, but again it is loose so we did it one at a time.

We reached the summit of North Maroon about 80 minutes after leaving the summit of Maroon Peak. By this point we had been above 13,000 feet climbing hard for nearly 4 hours and we were tired. It was a thrilling traverse.
You are welcome to contact me with any questions regarding questions about, or problems with, this website. Just send me an e-mail at josh_friesema@hotmail.com.